Achieving the Perfect Lighting in the Studio for Self-Portrait Photography
Beena Deming
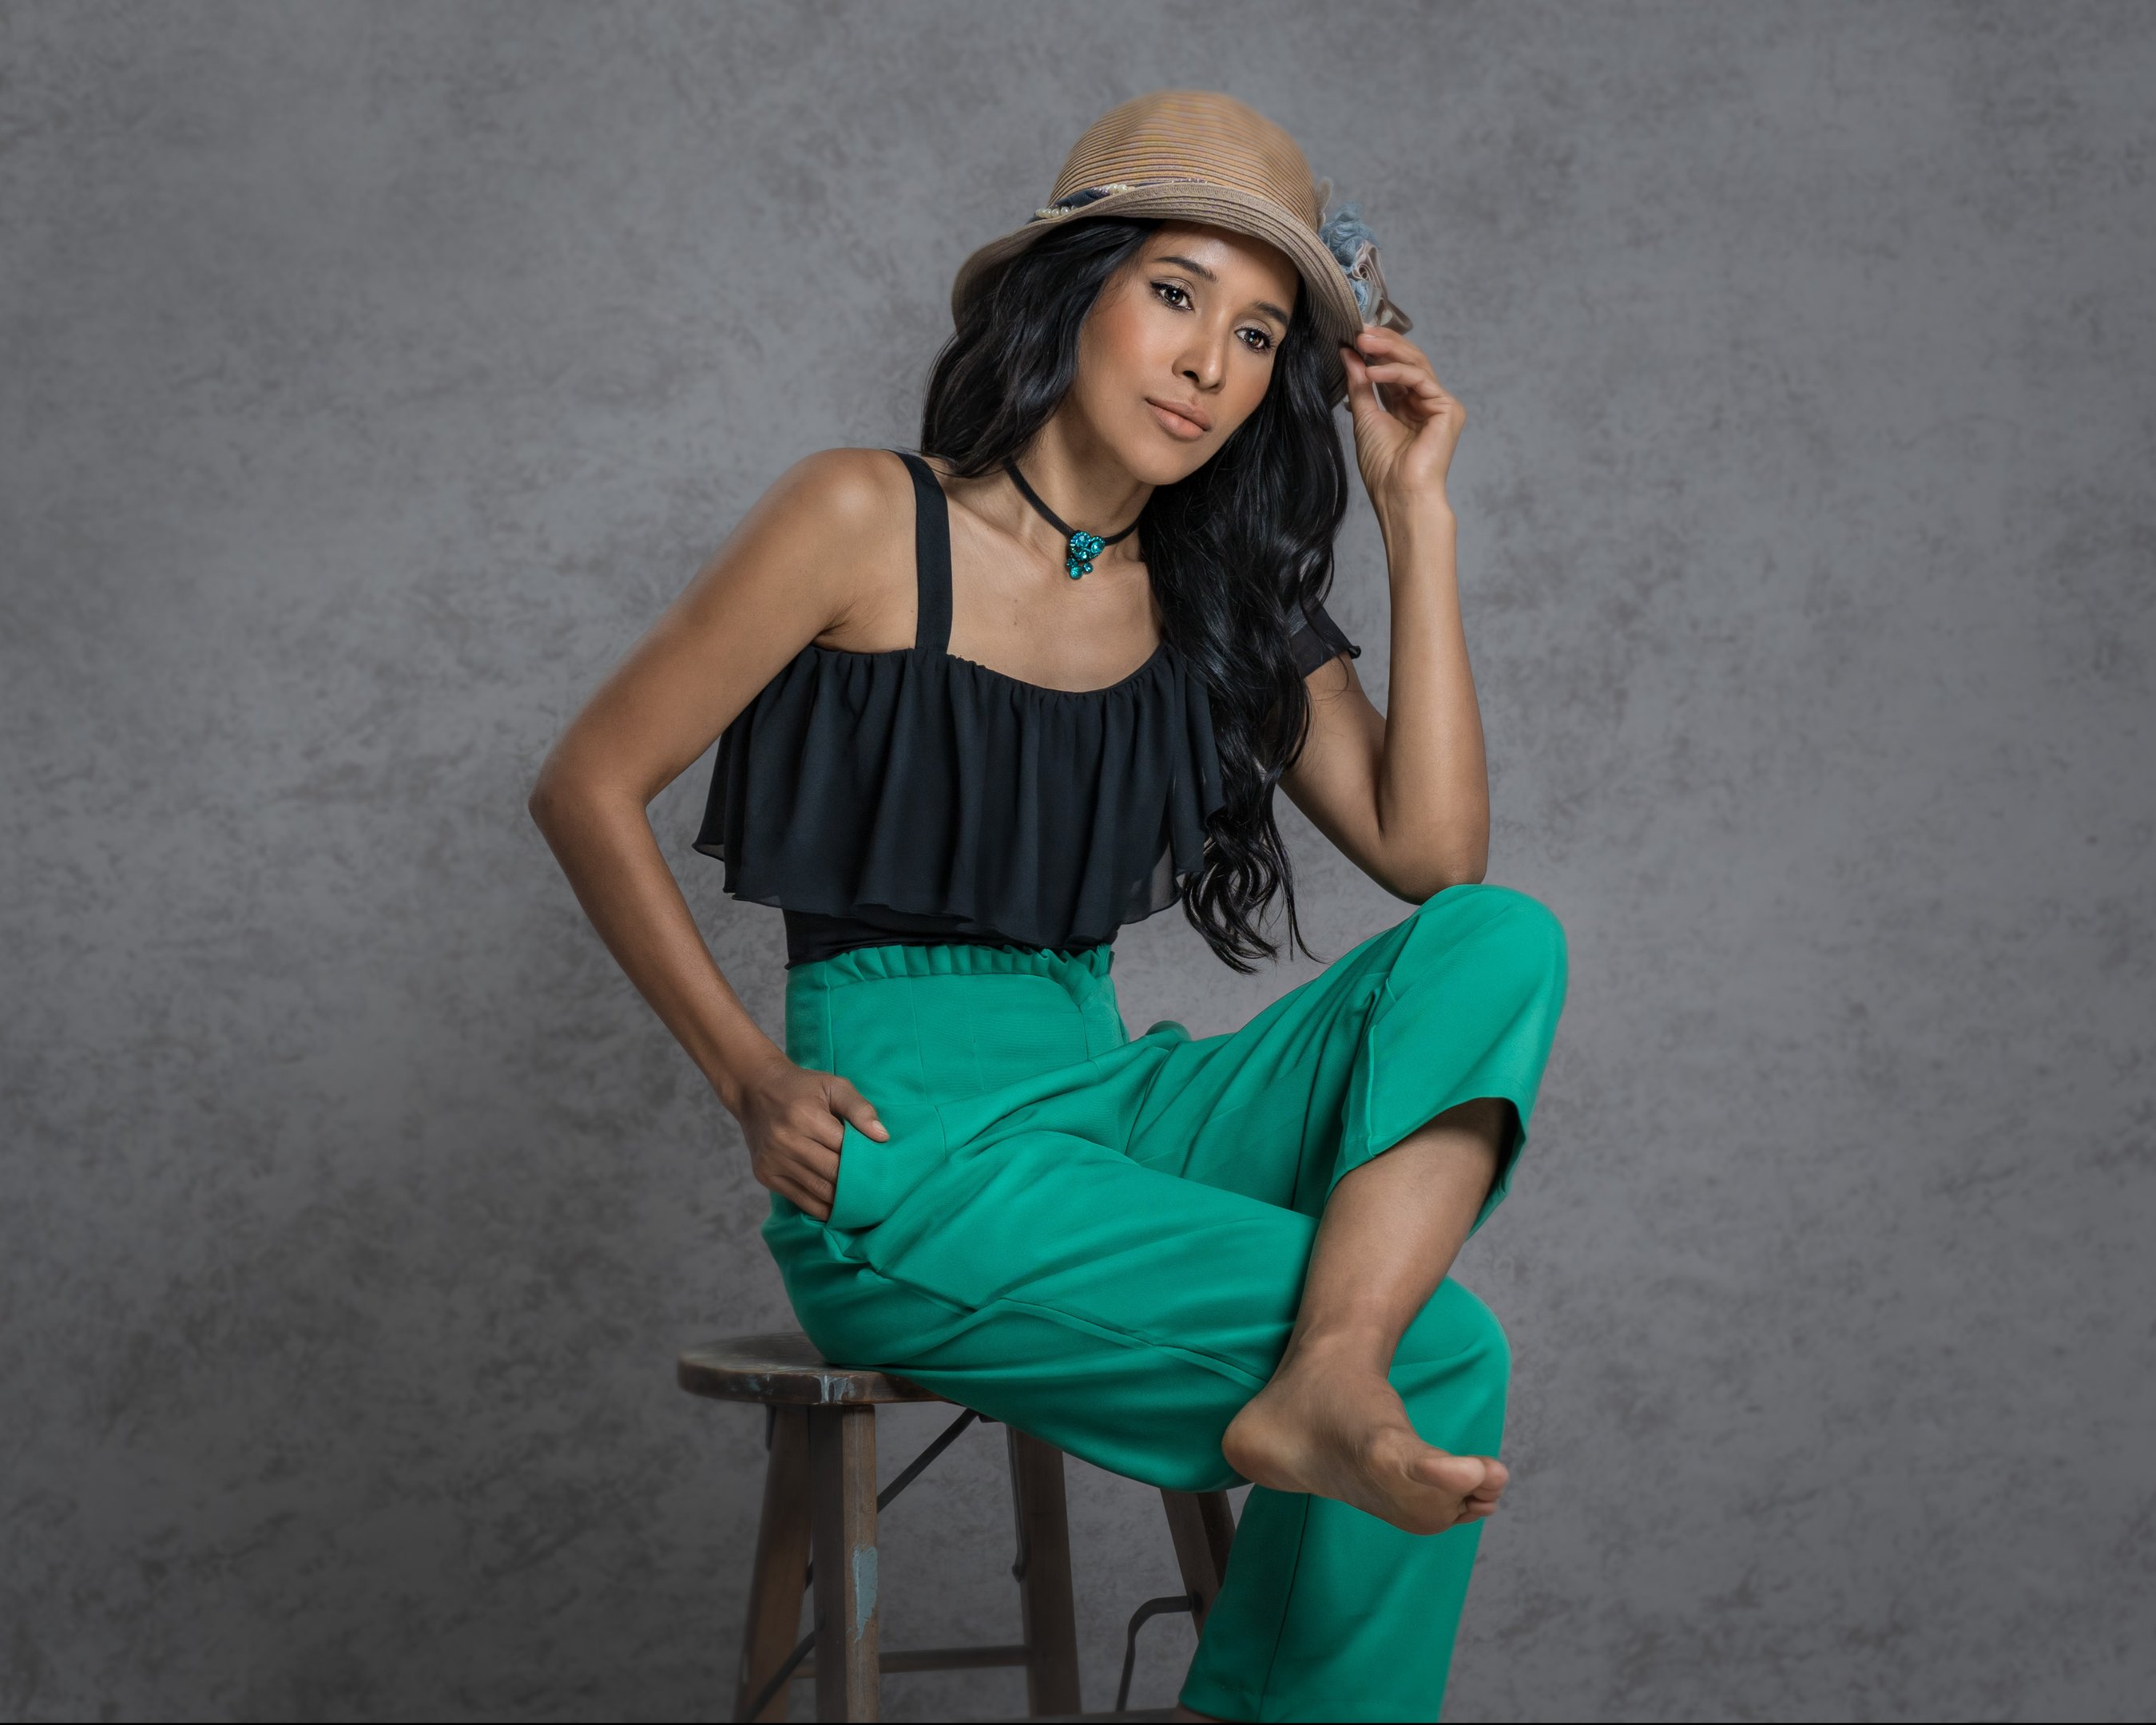
Creating self-portrait photos can be an exciting and fulfilling experience. One of the key elements that can make or break a self-portrait is the lighting. Achieving the perfect lighting in the studio is crucial to capturing the desired mood and enhancing the overall aesthetic of the photograph. In this blog post, I will share my process of achieving the perfect lighting in the studio for self-portrait photography, as well as my editing techniques to enhance the final result.
1. Understanding the Studio Lighting Setup:
Before diving into the technicalities, it is important to understand the basic studio lighting setup. A typical setup consists of three main lights: the key light, the fill light, and the backlight. The key light is the main light source that illuminates the subject, while the fill light helps to reduce shadows and provide overall illumination. The backlight adds depth and separation from the background. Experimenting with different positions and intensities of these lights can help create various moods and effects.
2. Utilizing Natural Light:
In addition to artificial lighting, natural light can also be used to achieve stunning self-portraits. Positioning yourself near a window or using diffusers and reflectors can help control the direction and intensity of natural light. This can create soft, flattering lighting that adds a natural and ethereal quality to your self-portraits.
3. Playing with Shadows:
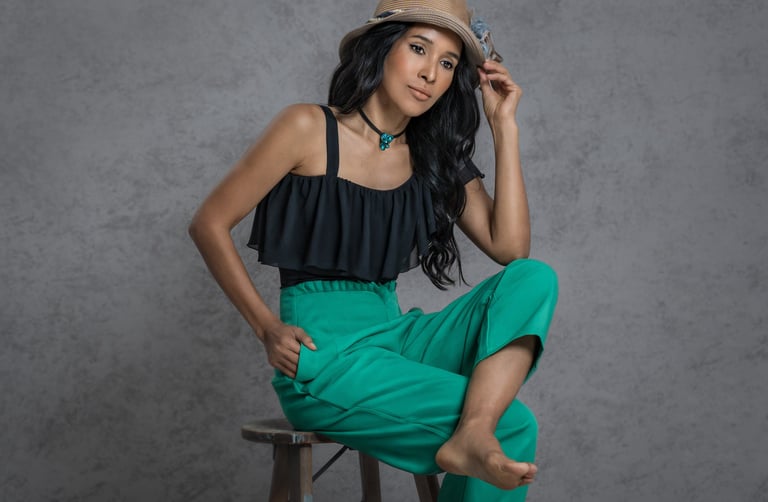
Shadows can be a powerful tool when it comes to self-portrait photography. They can add depth, drama, and mystery to your images. Experimenting with different lighting angles and distances can create interesting and dynamic shadow patterns. Don't be afraid to embrace the shadows and use them to your advantage.
4. Editing Techniques to Enhance Self-Portraits:
Once you have captured your self-portraits, the editing process can help enhance the colors, contrast, and overall aesthetic. Using software like Photoshop or Lightroom, you can adjust the exposure, color balance, and tone curves to bring out the best in your self-portraits. Be mindful not to over-edit and maintain the natural look of the photograph.
5. Practice and Experimentation:
Achieving the perfect lighting in the studio for self-portrait photography is a skill that develops over time. It requires practice, experimentation, and a keen eye for detail. Don't be afraid to try new lighting setups, angles, and editing techniques. Each self-portrait session is an opportunity to learn and grow as a photographer.
In conclusion, achieving the perfect lighting in the studio for self-portrait photography is a combination of technical knowledge, creativity, and experimentation. Understanding the studio lighting setup, utilizing natural light, playing with shadows, and enhancing the final result through editing techniques can help you create stunning self-portraits that truly reflect your vision and creativity. So, grab your camera, set up your lights, and let your creativity shine through your self-portraits.

Designed by Beena Deming © Using Hostinger